Choosing a Compass
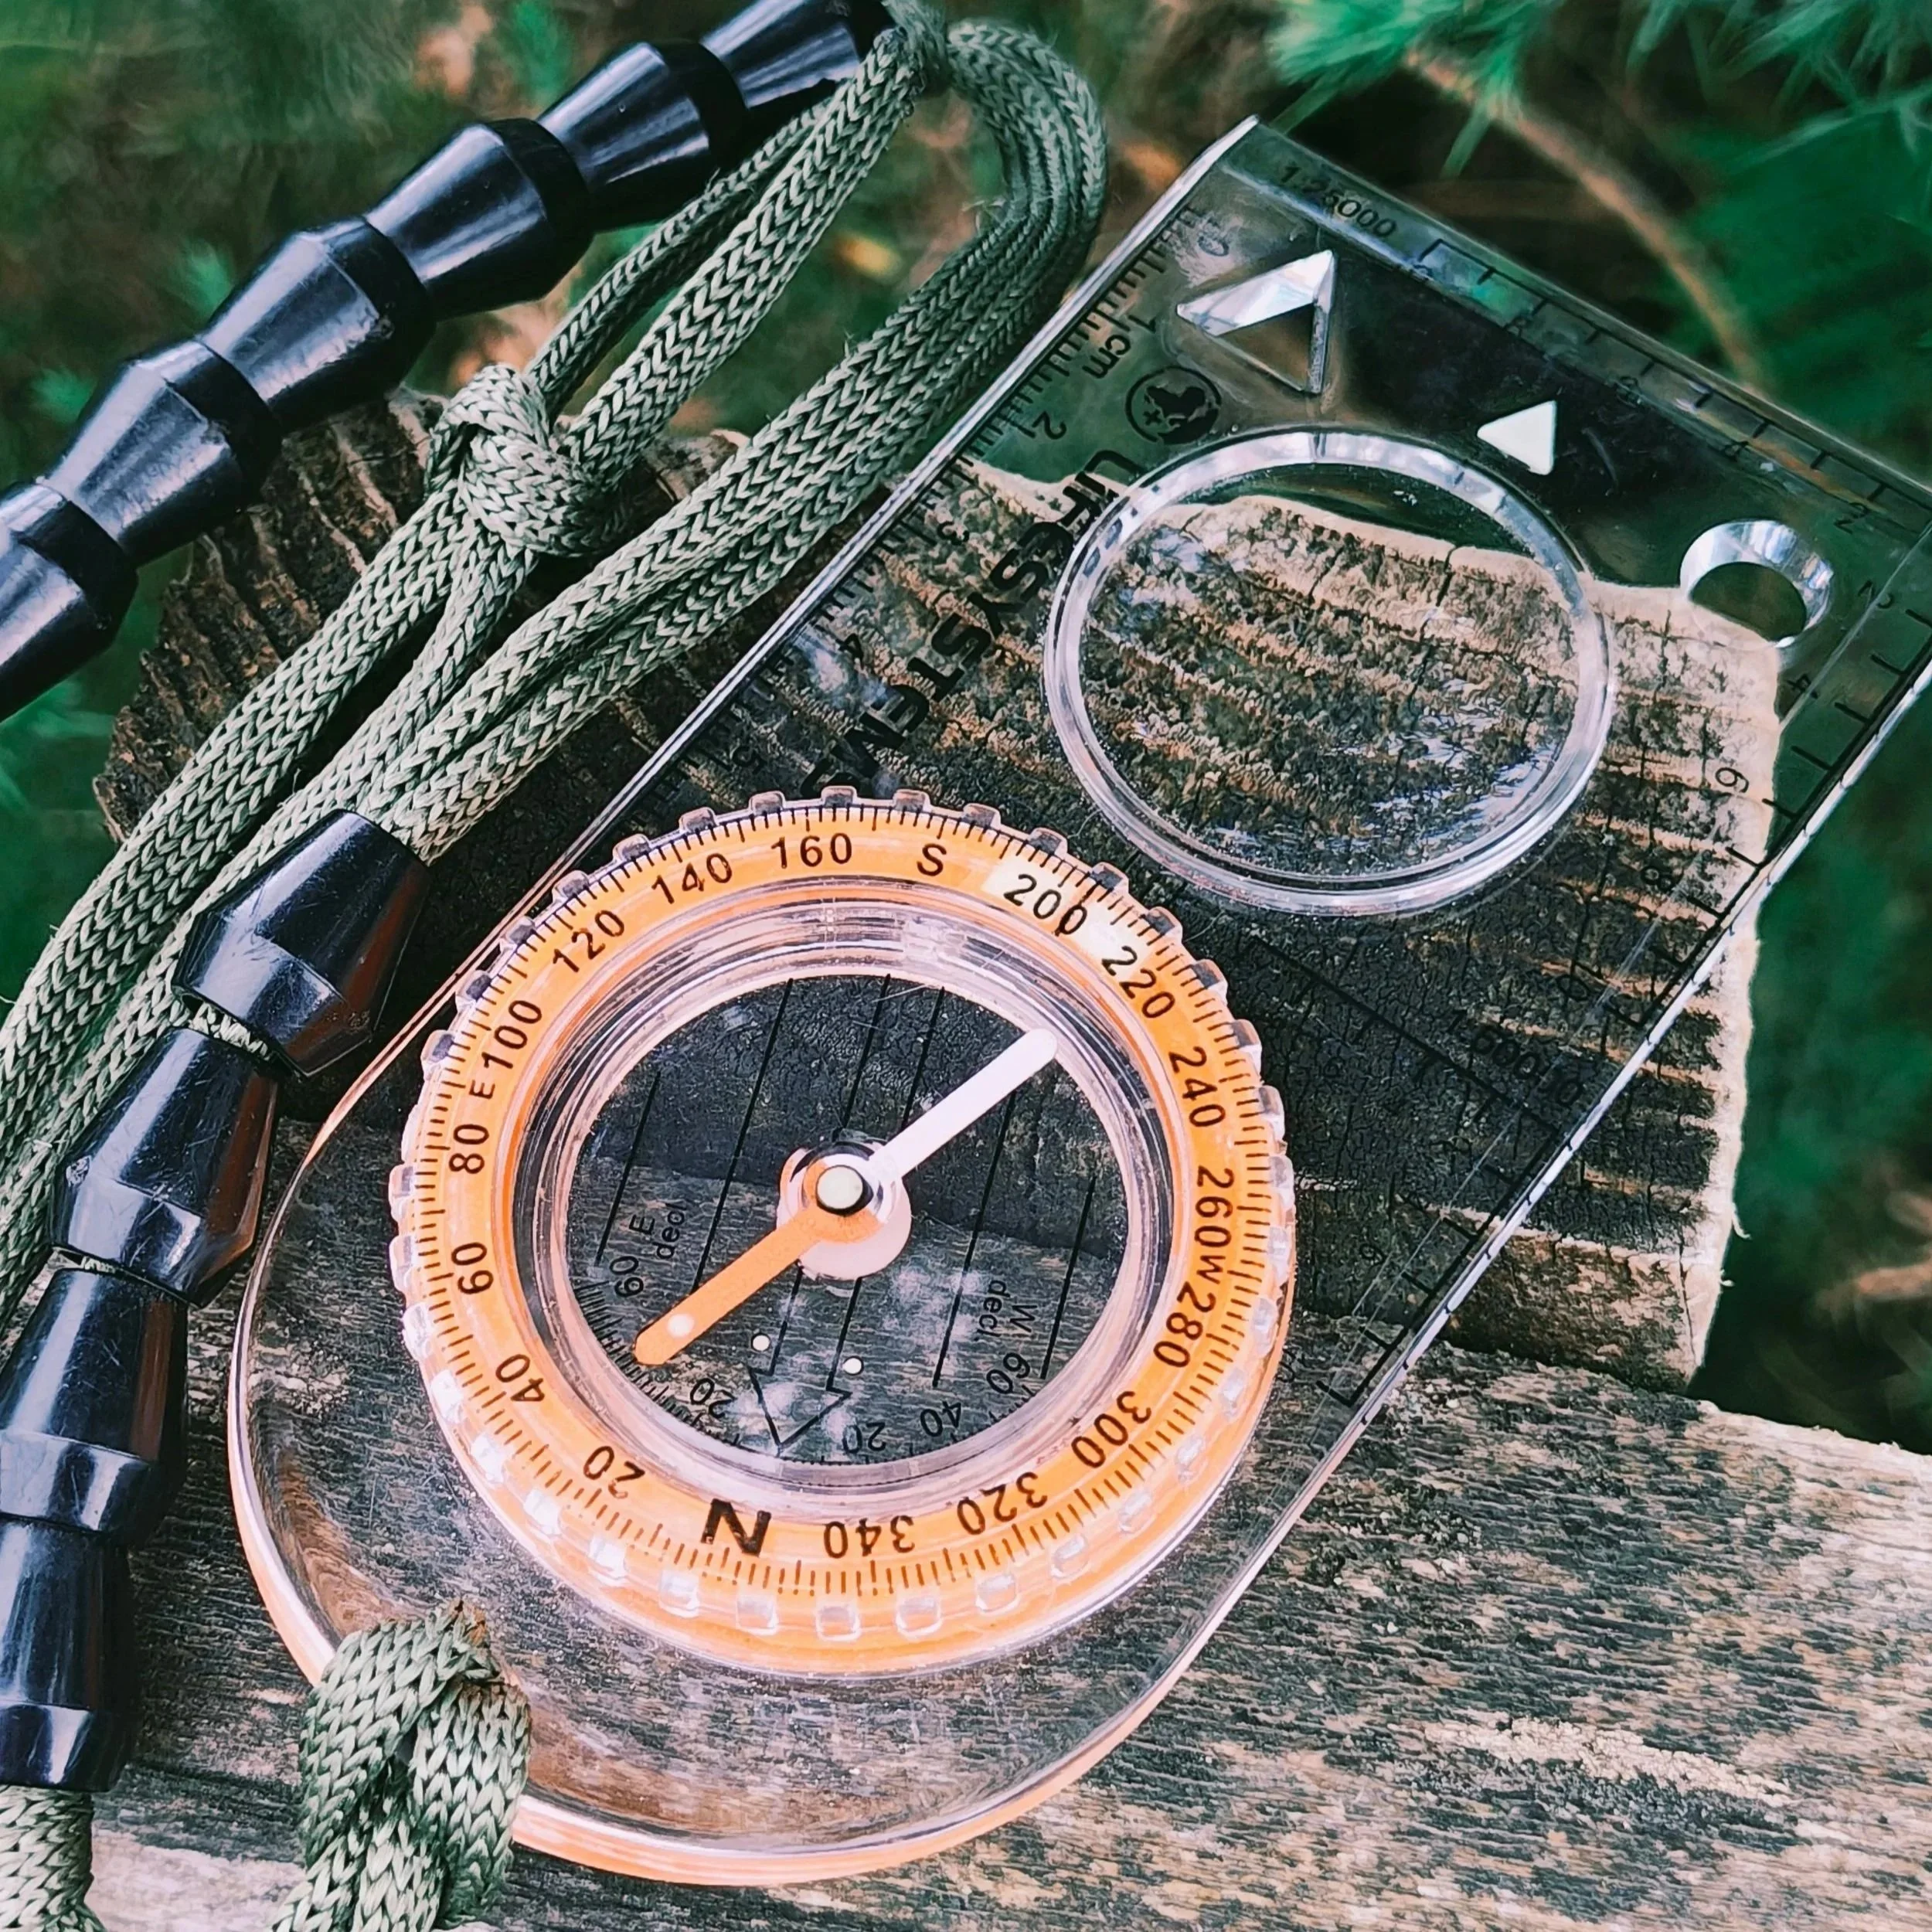
A standard baseplate compass - with ranger beads attached
Baseplate
There’s lots of options out there, but a few styles of compass stand out when it comes to taking a bearing in thick mist or whilst wearing winter gloves.
The first thing to look for is a compass with a baseplate. These will have a clear rectangular base, usually with straight sides and a curved bit at the bottom - to sit comfortably in the hand.
The straight sides will allow you to draw an imaginary line between your location and target when taking a bearing, that’s the most important reason for them, but usually come with measurements to help you work out distances on the map too.
Romer
Another feature to look for on the baseplate compass is a ‘romer’ (sometimes referred to as a romer scale). This is an L-shaped marking, usually on a top corner of the compass, to allow you to take accurate 6 figure grid references without having to just do it by eye.
Look for the scale of these romers, as you want one that matches the scale of the maps you’ll be using. Ordnance survey maps come in 1:25,000 scale for the orange explorer maps, and 1:50,000 scale for the pink landranger map. So it makes sense to look for a compass that includes both of these scales on its romer markings.
Other features that soon become important when you start to use the compass in bad (wet) weather and with gloves on in the cold, are little sticky feet underneath the baseplate itself. This makes taking accurate bearings much easier because the compass base itself wont be sliding around and rotating on the mapcase. Only a few mm of movement will make a huge difference to the accuracy bearing you are trying to measure.
Glow-in-the-dark
If you grew up in the 1980’s then you probably won’t need any persuasion on how cool glow-in-the-dark is, but for everyone else it becomes an important feature on a compass that you might want to use at night or in conditions with poor visibility. Look for a glowing point on the north needle at the very least, but it’s also handy to have glowing marks on the north arrow (or the the bit that moves around inside the compass bezel) as well as on the direction of travel arrow / marker at the top of the compass baseplate. Bonus points if the compass has glowing illumination to help you to see the numbers under the compass bezel too.
Degrees, not MILS (360 not 6400)
This one is important and it’s something I see a lot. If you’re using the compass outside of calling in artillery, go for the compass bezel that’s marked in 360 degrees every time. There are a LOT of compasses out there at a low cost on or sale that are marked up in MILS but having 6400 of them to deal with just confuses thing’s when it comes to navigating in the wilderness. Plus nobody outside of the forces really works in MILS so you’ll be speaking a different language most won’t know how to translate. Most people know that 90 degrees is a right angle. But turning 1600 MILS…? (exactly).
Good Quality
A north needle is really just a floating polarised (magnetised) bit of metal. You could achieve the same result with a polarised needle floating on a leaf in a container of water. Not quite as easy to carry but you get the idea. When it comes to paying for a more expensive compass you’ll notice a jump in quality. A good quality compass usually has neater and more durable printing on the numbers and graduations that won’t wear off or fade quickly. They usually have a noticeably smoother bezel which makes all the difference when trying to take bearing with gloves on. Any glowing parts tend to be brighter and last longer, and sometimes the needles settle faster if high quality pivot points and other moving parts are used. You might be paying upwards of £30 for a good compass, but it’ll outlast and outshine your £10 special by a long way. Having said that, if you’re on a bit of a budget then don’t let that stop you from getting whatever you can afford for now and getting some practice in. You can always upgrade or use it as a spare later on.
Conclusion
Get a baseplate compass, make sure it’s marked up in 360 degrees and you can’t go too far wrong.
If it has relevant romer markings and glowing bits then even better.
If you can spend a bit extra for a good quality model from someone like SILVA, SUUNTO (or maybe even BRUNTON if you can find one that’s designed with European markings and scales over USA ones) then you’re really winning.
And then what?
Navigation is such an important yet often overlooked part of survival training and keeping yourself less dead outdoors. So practice loads or just book yourself on an AKM navigation course.
